
Website migration is one of the most sensitive tasks in SEO. Even a small mistake—such as broken redirects or blocked pages—can lead to traffic loss, ranking drops, and indexing issues. Migrations often involve multiple technical and content changes happening at the same time, which increases the risk if SEO is not handled carefully.
This guide explains a complete 16-step website migration process designed to protect your search visibility. It covers planning, execution, and post-launch monitoring so your rankings, traffic, and authority remain stable throughout the transition.
Pre-Migration Planning (Steps 1–6)
Step 1: Identify the Type of Website Migration
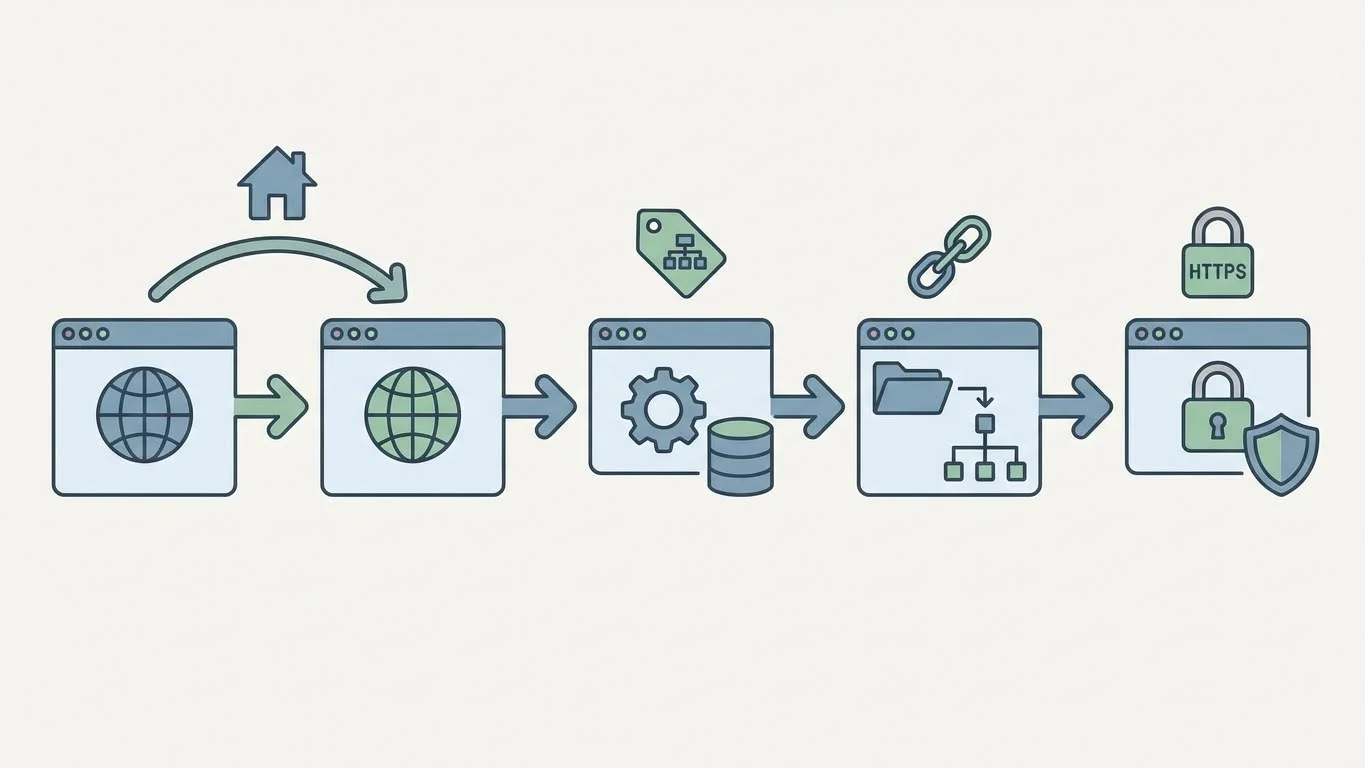
The first step is understanding exactly what is changing on your website. Not all migrations are the same, and each type affects SEO differently.
Common website migration types include:
- Domain changes, where the website moves to a new domain
- Platform or CMS changes, where the backend technology changes
- URL structure changes, such as modifying folders or page slugs
- HTTPS migrations, where the site moves from HTTP to HTTPS
- Website redesigns that include content or layout updates
Knowing the migration type helps you anticipate risks related to crawling, indexing, redirects, and ranking signals.
Step 2: Set Clear SEO Goals and Benchmarks
Before migration, you need a clear picture of your current SEO performance. These benchmarks allow you to measure success after launch.
Document key data such as:
- Current organic traffic levels
- Keyword rankings for important pages
- Pages receiving the most visits
- Pages that generate leads or sales
- Number of indexed pages
These benchmarks act as a reference point so you can quickly identify whether changes after migration are normal or problematic.
Step 3: Perform a Full Website Crawl
A full crawl creates a snapshot of your existing website. This snapshot becomes your primary reference during and after migration.
A crawl helps you capture:
- All live URLs
- Page status codes
- Titles, meta descriptions, and headings
- Canonical URLs
- Internal linking structure
This data ensures that no important page is lost or overlooked during the migration process.
Step 4: Audit Current SEO Performance
An SEO audit identifies the pages and elements that contribute the most value to your website.
Focus on:
- Pages ranking on the first page of search results
- Pages attracting consistent organic traffic
- Pages with strong backlink profiles
- Pages that drive conversions or inquiries
These pages should be handled with extra care during migration to avoid traffic or revenue loss.
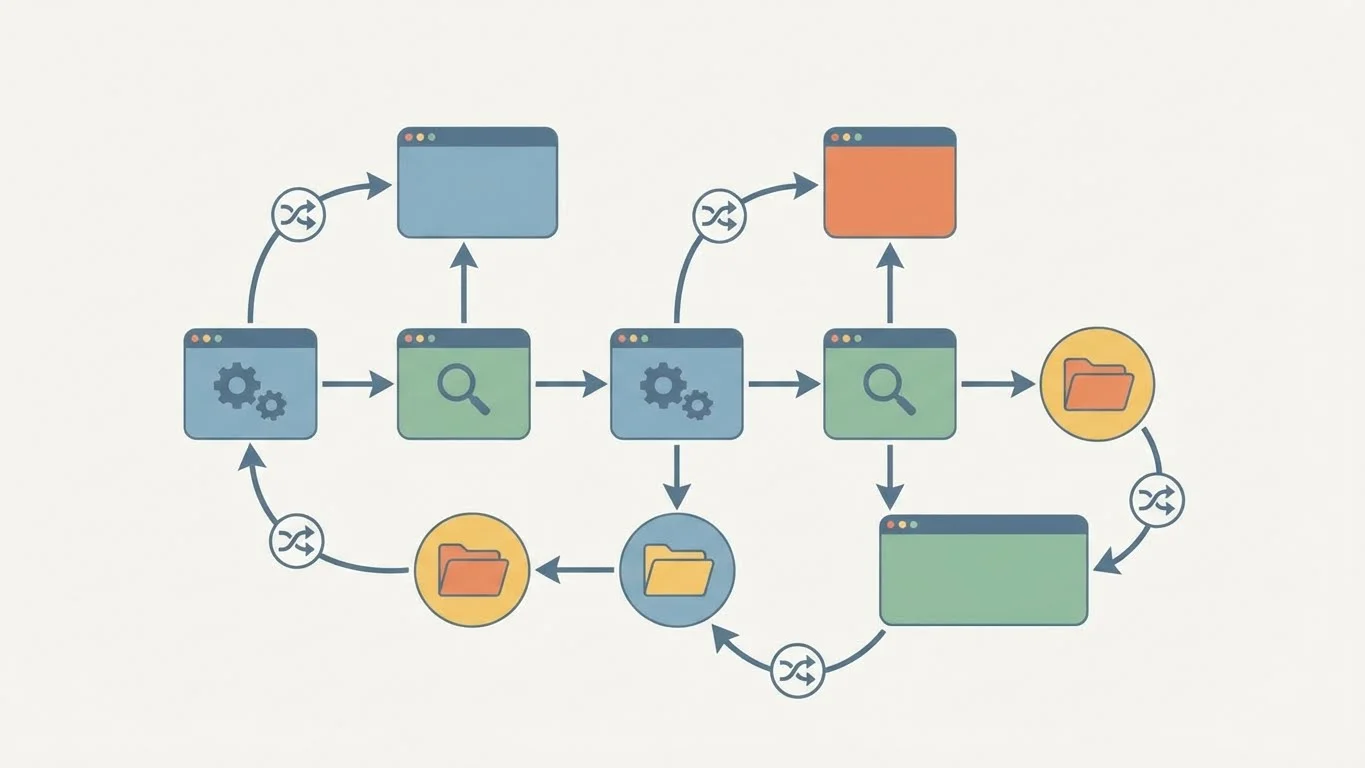
Step 5: Create a URL Mapping & Redirect Strategy

URL mapping connects every old URL to its most relevant new version. This step is critical for preserving rankings.
Best practices include:
- Creating a one-to-one mapping between old and new URLs
- Using permanent redirects for pages that have moved
- Avoiding redirects to unrelated pages
- Preventing multiple redirects between a single URL pair
Proper redirects ensure search engines pass ranking signals from old pages to new ones.
Step 6: Prepare the New Website for SEO
Before launch, the new website must be technically and structurally ready for search engines.
Important checks include:
- Optimized page titles and meta descriptions
- Proper heading hierarchy
- Mobile-friendly layout
- Fast loading speed
- Clean and readable URLs
Fixing these issues before launch reduces the risk of post-migration SEO problems.
Migration Execution (Steps 7–12)
Step 7: Set Up a Staging Environment
A staging environment allows you to test the new website without affecting live users or search engines.
In staging, you should:
- Review page layouts and templates
- Test redirect behavior
- Check internal links
- Verify technical SEO settings
Staging environments should always be blocked from indexing to avoid duplicate content issues.
Step 8: Implement Redirects Correctly
Redirects tell search engines where content has moved. Incorrect redirects are one of the biggest causes of SEO losses during migration.
Best practices include:
- Using permanent redirects for moved pages
- Redirecting each page to its closest equivalent
- Testing redirects in bulk
- Avoiding redirect chains and loops
Correct redirect implementation helps preserve rankings and user experience.
Step 9: Update Internal Links
Internal links should always point directly to final URLs rather than relying on redirects.
Key areas to update:
- Navigation menus
- Footer links
- Content links within articles
- Image and resource links
Clean internal linking improves crawl efficiency and strengthens page authority distribution.
Step 10: Migrate Metadata and Structured Data

SEO metadata strongly influences rankings and click-through rates. Losing or changing it unnecessarily can hurt performance.
Ensure the following are migrated accurately:
- Page titles
- Meta descriptions
- Canonical tags
- Social sharing tags
- Structured data markup
Consistency helps search engines understand that the content remains the same despite the migration.
Step 11: Check Indexation and Crawlability
After launch, confirm that search engines can access and index the new website correctly.
Review:
- Crawl permissions
- Indexing directives
- Canonical URL accuracy
- Page accessibility
Any blocked or incorrectly indexed page should be fixed immediately.
Step 12: Update XML Sitemaps
XML sitemaps help search engines discover and crawl new URLs efficiently.
Best practices include:
- Removing old URLs from the sitemap
- Including only live, canonical pages
- Submitting the updated sitemap after launch
- Monitoring sitemap processing status
Updated sitemaps speed up search engine understanding of the new site structure.
Post-Migration Monitoring & Optimization (Steps 13–16)
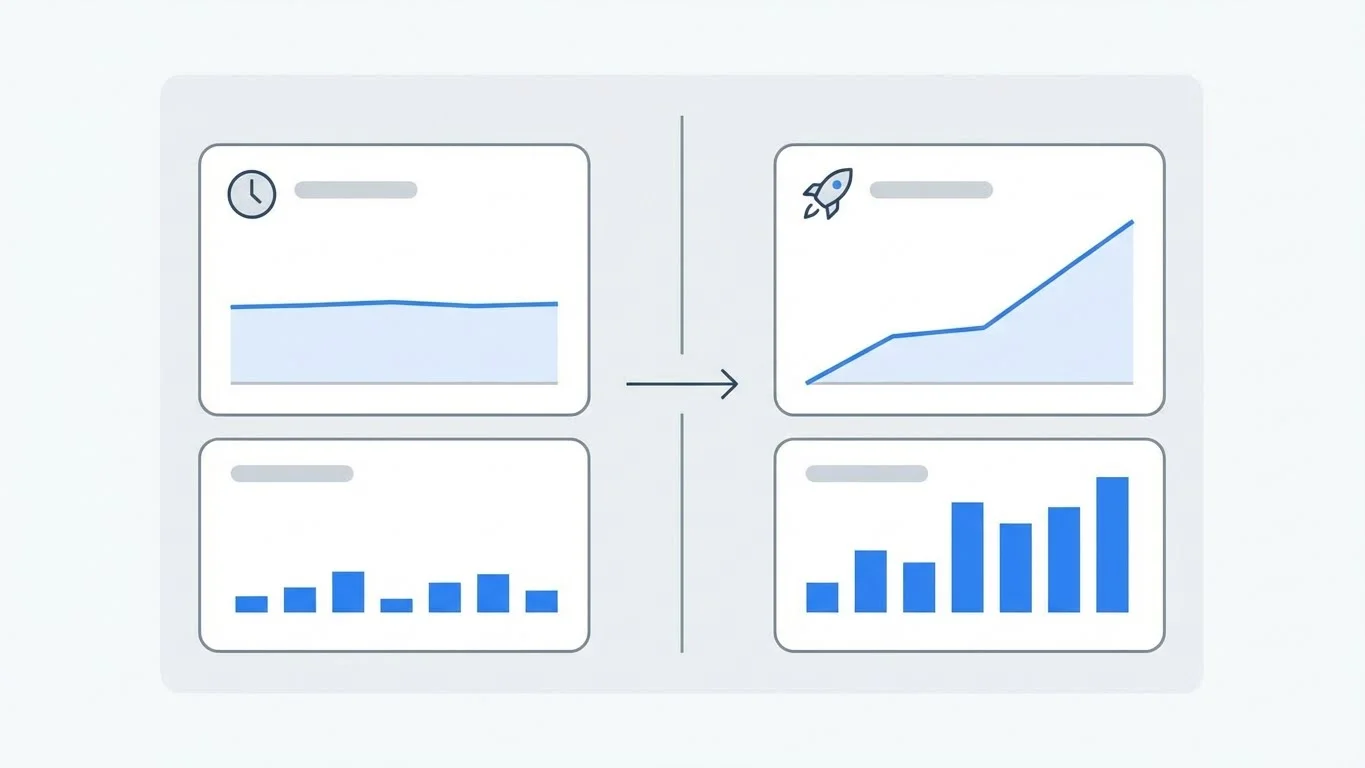
Step 13: Monitor Traffic and Rankings Closely

Some fluctuations are normal after migration, but sudden or sustained drops require investigation.
Monitor:
- Organic traffic trends
- Keyword ranking changes
- Index coverage
- Crawl errors
Frequent monitoring during the first few weeks is essential for early problem detection.
Step 14: Fix Post-Migration SEO Errors
Common post-migration issues include:
- Missing redirects
- Broken internal links
- Incorrect canonical tags
- Duplicate pages
Prioritize fixes based on pages with the highest traffic and business value.
Step 15: Update External Links and Brand Signals
External links and brand signals help consolidate authority after migration.
Key actions include:
- Updating links on social profiles
- Updating directory and business listings
- Requesting updates to high-value backlinks
- Ensuring brand name and URL consistency online
These updates help reinforce trust and relevance signals.
Step 16: Conduct a Post-Migration SEO Audit
A post-migration audit confirms that the website is stable and optimized.
This audit should include:
- Comparing pre- and post-migration crawl data
- Reviewing ranking recovery
- Checking indexation status
- Verifying technical SEO health
This final step ensures long-term SEO success.
Common Website Migration SEO Mistakes to Avoid
- Skipping URL mapping
- Launching without testing redirects
- Forgetting to update sitemaps
- Blocking pages accidentally
- Ignoring post-launch monitoring
Conclusion
Website migration does not have to result in lost rankings or traffic. When handled methodically, it can improve performance while preserving SEO value. By following this 16-step website migration process, you minimize risk, maintain visibility, and ensure a smooth transition for both users and search engines.

Passionate about blogging and focused on elevating brand visibility through strategic SEO and digital marketing. Always tuned in to the latest trends, I’m dedicated to maximizing engagement and delivering measurable ROI in the dynamic world of digital marketing. Let’s connect and unlock new opportunities together!